5.1 KiB
Deploy on AWS EC2
This tutorial shows you how to deploy code-server on an AWS EC2 instance.
If you're just starting out, we recommend installing code-server locally. It takes only a few minutes and lets you try out all of the features locally.
If you get stuck or need help at anytime, file an issue, tweet (@coderhq) or email.
Creating an Instance using the AWS Launch Wizard
- Click Launch Instance from your EC2 dashboard.
- Select the "Ubuntu Server 18.04 LTS (HVM), SSD Volume Type" AMI..
- Select an appropriate instance size (we recommend t2.medium/large, depending on team size and number of repositories/languages enabled), then Next: Configure Instance Details.
- Select Next: ... until you get to the Configure Security Group page,
then add a Custom TCP Rule rule with port range set to
8443and source set to "Anywhere".Rules with source of 0.0.0.0/0 allow all IP addresses to access your instance. We recommend setting security group rules to allow access from known IP addresses only.
- Click Launch.
- You will be prompted to create a keypair.
A key pair consists of a public key that AWS stores, and a private key file that you store. For Linux AMIs, the private key file allows you to securely SSH into your instance.
- From the dropdown choose "create a new pair", give the key pair a name.
- Click Download Key Pair. This is necessary before you proceed. A
.pemfile will be downloaded. make sure you store is in a safe location because it can't be retrieved once we move on. - Finally, click Launch Instances.
Installing code-server onto an AWS Instance
- First head to your EC2 dashboard and choose Instances on the left sidebar.
- Select the instance you just created, and in the description tab at the bottom of the screen copy the Public DNS (IPv4) address using the copy to clipboard button.
- Open a terminal on your computer and use the following command to SSH into
your EC2 instance. If you're using Windows, you can use PuTTY
to open an SSH connection.
ssh -i "path/to/your/keypair.pem" ubuntu@(paste the public DNS here)For example:
ssh -i "/Users/John/Downloads/TestInstance.pem" ubuntu@ec2-3-45-678-910.compute-1.amazonaws.co - If you get a warning about an unknown server key fingerprint, type "yes" to approve the remote host.
- You should see a prompt for your EC2 instance like so:
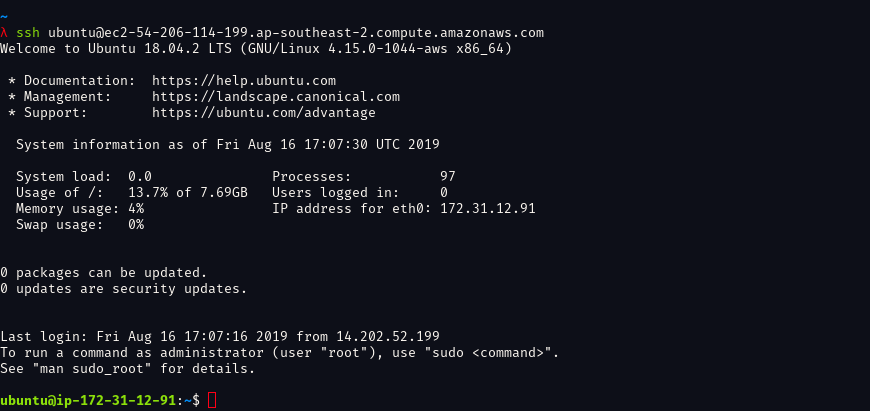
- At this point it is time to download the
code-serverbinary. We will, of course, want the linux version. Find the latest code-server release from the GitHub releases page. - Right click the Linux x64
.tar.gzrelease asset and copy the URL. In the SSH terminal, run the following command:wget (paste the URL here) - Extract the downloaded file with the following command:
tar -xvzf code-server*.tar.gz - Navigate to extracted directory with this command:
cd code-server*/ - Ensure the code-server binary is executable with the following command:
chmod +x code-server - Finally, to start code-server run this command:
./code-server - code-server will start up, and the password will be printed in the output. Make sure to copy the password for the next step.
- Open your browser and visit
https://$public_ip:8443/(where$public_ipis your AWS instance's public IP address). You will be greeted with a page similar to the following screenshot. code-server is using a self-signed SSL certificate for easy setup. In Chrome/Chromium, click Advanced then click proceed anyway. In Firefox, click Advanced, then Add Exception, then finally Confirm Security Exception.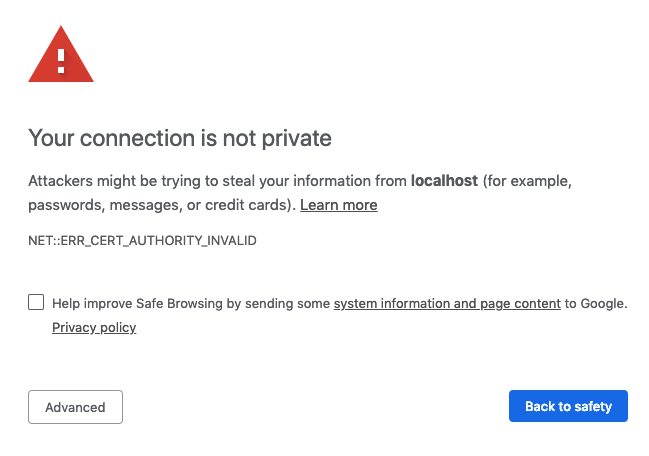
Post Installation Steps
To ensure the connection between you and your server is encrypted, view our guides on securing your setup.
For instructions on how to keep the server running after you end your SSH session please checkout how to use systemd. systemd will run code-server for you in the background as a service and restart it for you if it crashes.