# Deploy on AWS EC2
This tutorial shows you how to deploy `code-server` on an AWS EC2 instance.
If you're just starting out, we recommend
[installing code-server locally](self-hosted-docs). It takes only a few minutes
and lets you try out all of the features locally.
If you get stuck or need help at anytime, [file an issue](create-issue),
[tweet (@coderhq)](twitter-coderhq) or [email](email-coder).
[self-hosted-docs]: ../../self-hosted/index.md
[create-issue]: https://github.com/cdr/code-server/issues/new?title=Improve+AWS+quickstart+guide
[twitter-coderhq]: https://twitter.com/coderhq
[email-coder]: mailto:support@coder.com?subject=AWS%20quickstart%20guide
---
### Creating an Instance using the AWS Launch Wizard
1. Click **Launch Instance** from your [EC2 dashboard](ec2-home).
2. Select the "Ubuntu Server 18.04 LTS (HVM), SSD Volume Type" AMI..
3. Select an appropriate instance size (we recommend t2.medium/large, depending
on team size and number of repositories/languages enabled), then **Next:
Configure Instance Details**.
4. Select **Next: ...** until you get to the **Configure Security Group** page,
then add a **Custom TCP Rule** rule with port range set to `8443` and source
set to "Anywhere".
> Rules with source of 0.0.0.0/0 allow all IP addresses to access your
> instance. We recommend setting [security group rules](ec2-sg-docs) to allow
> access from known IP addresses only.
5. Click **Launch**.
6. You will be prompted to create a keypair.
> A key pair consists of a public key that AWS stores, and a private key file
> that you store. For Linux AMIs, the private key file allows you to
> securely SSH into your instance.
7. From the dropdown choose "create a new pair", give the key pair a name.
8. Click **Download Key Pair**. This is necessary before you proceed. A `.pem`
file will be downloaded. make sure you store is in a safe location because it
can't be retrieved once we move on.
9. Finally, click **Launch Instances**.
[ec2-home]: https://console.aws.amazon.com/ec2/v2/home
[ec2-sg-docs]: https://docs.aws.amazon.com/AWSEC2/latest/UserGuide/using-network-security.html?icmpid=docs_ec2_console
---
### Installing code-server onto an AWS Instance
1. First head to your [EC2 dashboard](ec2-home) and choose **Instances** on the
left sidebar.
2. Select the instance you just created, and in the description tab at the
bottom of the screen copy the **Public DNS (IPv4)** address using the copy to
clipboard button.
3. Open a terminal on your computer and use the following command to SSH into
your EC2 instance. If you're using Windows, you can use [PuTTY](putty-guide)
to open an SSH connection.
```
ssh -i "path/to/your/keypair.pem" ubuntu@(paste the public DNS here)
```
> For example: `ssh -i "/Users/John/Downloads/TestInstance.pem" ubuntu@ec2-3-45-678-910.compute-1.amazonaws.co`
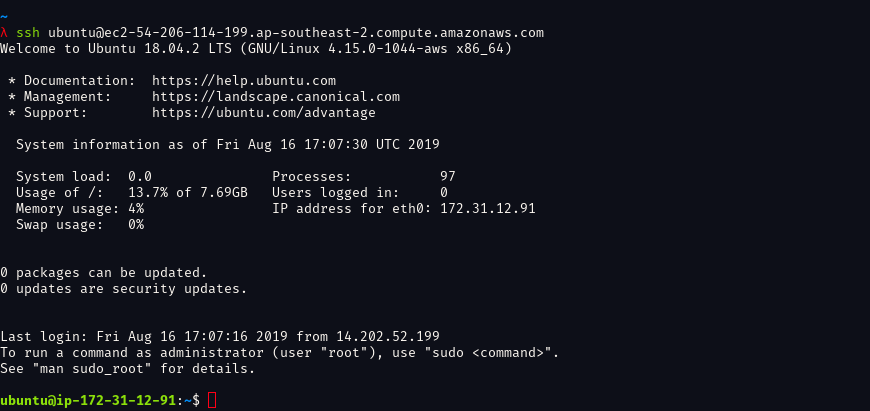
4. If you get a warning about an unknown server key fingerprint, type "yes" to
approve the remote host.
5. You should see a prompt for your EC2 instance like so:
 6. At this point it is time to download the `code-server` binary. We will, of
course, want the linux version. Find the latest code-server release from the
[GitHub releases](code-server-latest) page.
7. Right click the Linux x64 `.tar.gz` release asset and copy the URL. In the
SSH terminal, run the following command:
```
wget (paste the URL here)
```
8. Extract the downloaded file with the following command:
```
tar -xvzf code-server*.tar.gz
```
9. Navigate to extracted directory with this command:
```
cd code-server*/
```
10. Ensure the code-server binary is executable with the following command:
```
chmod +x code-server
```
11. Finally, to start code-server run this command:
```
./code-server
```
12. code-server will start up, and the password will be printed in the output.
Make sure to copy the password for the next step.
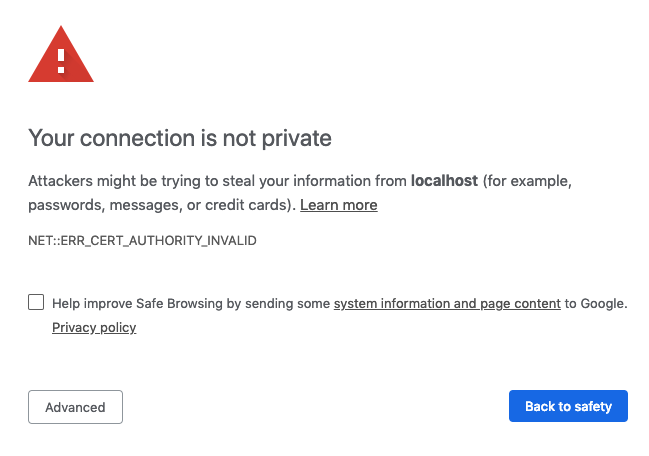
13. Open your browser and visit `https://$public_ip:8443/` (where `$public_ip`
is your AWS instance's public IP address). You will be greeted with a page
similar to the following screenshot. code-server is using a self-signed SSL
certificate for easy setup. In Chrome/Chromium, click **Advanced** then
click **proceed anyway**. In Firefox, click **Advanced**, then **Add
Exception**, then finally **Confirm Security Exception**.
6. At this point it is time to download the `code-server` binary. We will, of
course, want the linux version. Find the latest code-server release from the
[GitHub releases](code-server-latest) page.
7. Right click the Linux x64 `.tar.gz` release asset and copy the URL. In the
SSH terminal, run the following command:
```
wget (paste the URL here)
```
8. Extract the downloaded file with the following command:
```
tar -xvzf code-server*.tar.gz
```
9. Navigate to extracted directory with this command:
```
cd code-server*/
```
10. Ensure the code-server binary is executable with the following command:
```
chmod +x code-server
```
11. Finally, to start code-server run this command:
```
./code-server
```
12. code-server will start up, and the password will be printed in the output.
Make sure to copy the password for the next step.
13. Open your browser and visit `https://$public_ip:8443/` (where `$public_ip`
is your AWS instance's public IP address). You will be greeted with a page
similar to the following screenshot. code-server is using a self-signed SSL
certificate for easy setup. In Chrome/Chromium, click **Advanced** then
click **proceed anyway**. In Firefox, click **Advanced**, then **Add
Exception**, then finally **Confirm Security Exception**.
 [putty-guide]: https://docs.aws.amazon.com/AWSEC2/latest/UserGuide/putty.html
[code-server-latest]: https://github.com/cdr/code-server/releases/latest
---
### Post Installation Steps
To ensure the connection between you and your server is encrypted, view our
guides on [securing your setup](security-guide).
For instructions on how to keep the server running after you end your SSH
session please checkout [how to use systemd](systemd-guide). systemd will run
code-server for you in the background as a service and restart it for you if it
crashes.
[security-guide]: ../../security/index.md
[systemd-guide]: https://www.linode.com/docs/quick-answers/linux/start-service-at-boot/
[putty-guide]: https://docs.aws.amazon.com/AWSEC2/latest/UserGuide/putty.html
[code-server-latest]: https://github.com/cdr/code-server/releases/latest
---
### Post Installation Steps
To ensure the connection between you and your server is encrypted, view our
guides on [securing your setup](security-guide).
For instructions on how to keep the server running after you end your SSH
session please checkout [how to use systemd](systemd-guide). systemd will run
code-server for you in the background as a service and restart it for you if it
crashes.
[security-guide]: ../../security/index.md
[systemd-guide]: https://www.linode.com/docs/quick-answers/linux/start-service-at-boot/